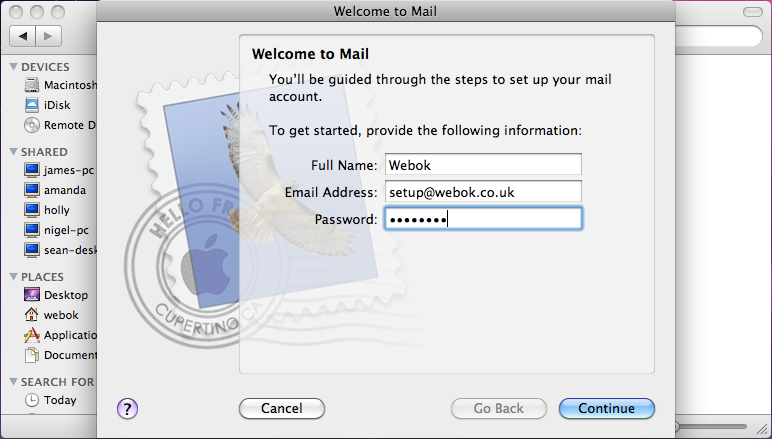
The first time you load up your mail client you will be presented with the image below. Here you should enter your Name, Email-address and Password, then Continue.
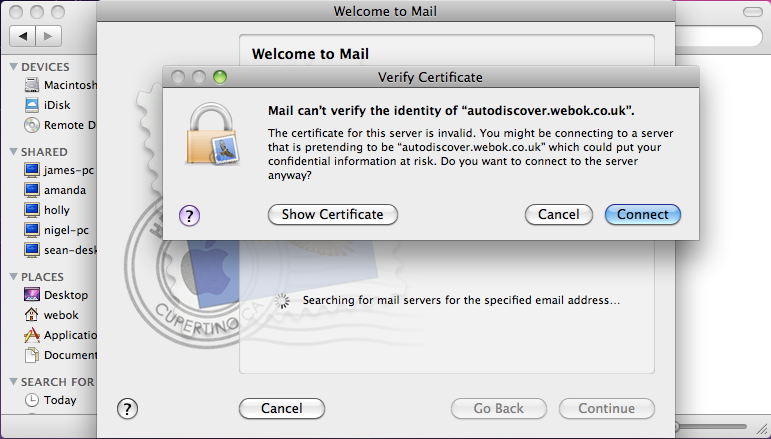
After completing you should see the following pop up, just click "Connect".
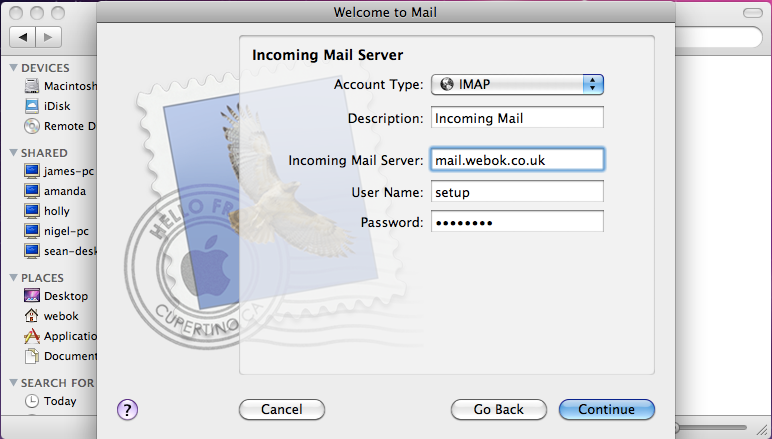
The next step will be to configure your incoming settings. You can choose between IMAP and POP (see explanation below) depending on your needs/ wants: the IMAP selection is shown. The description field is optional. Enter "mail." followed by your full email address eg mail.webok.co.uk (as shown) in the Incoming Mail Server field; your User Name and password in the respective fields.
POP3 - your emails are downloaded to your PC to view and only accessible on the device you have downloaded them to.
IMAP – Your emails are stored on the server and accessible from any device.
If you are presented with the following error message press "Connect" to get through to the next step.

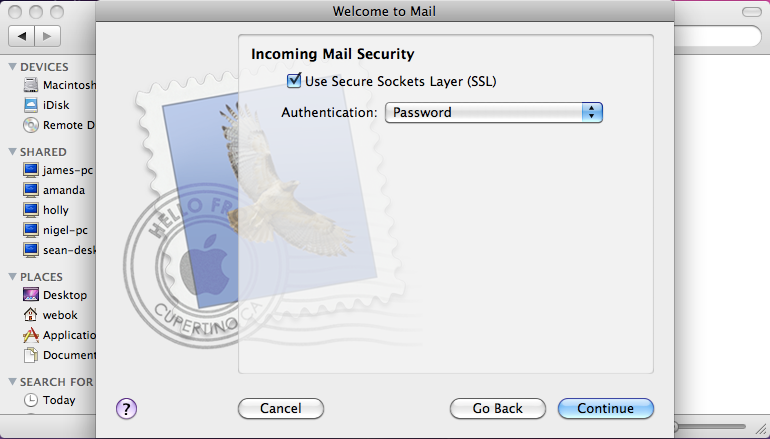
This step covers security for Incoming Mail. Below shows Password authentication as having been chosen, but it is a matter of personal preference.
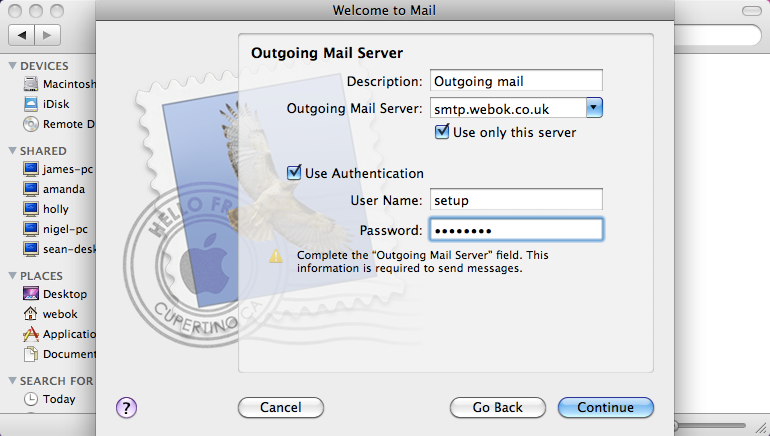
The next section is outgoing mail. Again the description is up to you. The Mail server is SMTP.your-domain-name.co.uk. The user name and password are for the authentication when sending outgoing mail. When completed press "Continue".
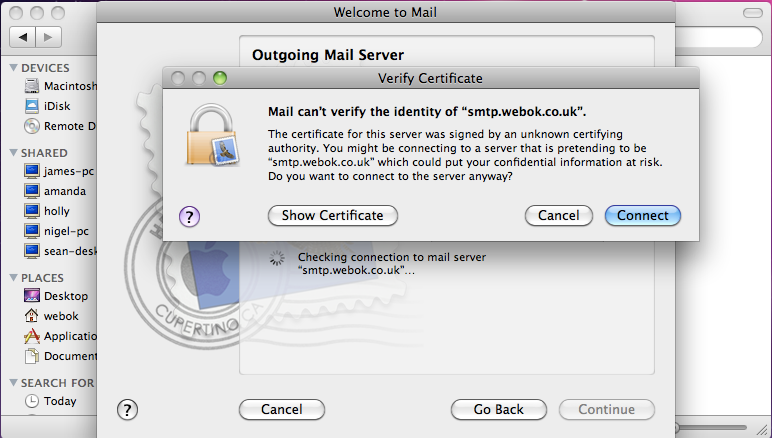
If presented with the error message below, simply click "Connect".
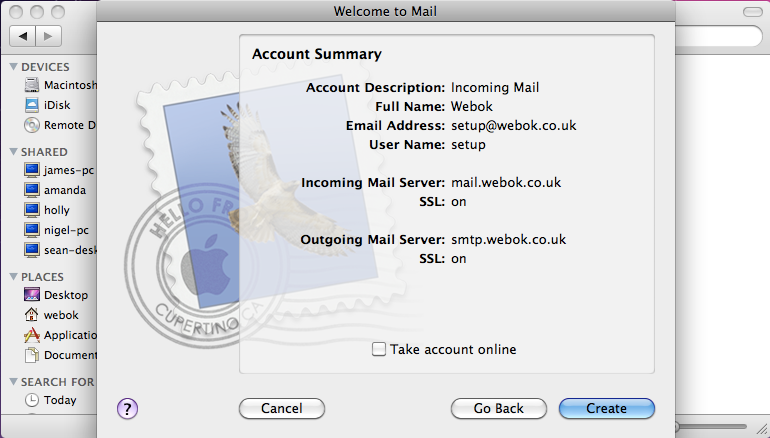
Finally, you have your details summarised for verification. If you are happy, check/ click the "Take account online" box and then click "Create". If you are not happy with any of the settings go back to make changes as necessary.